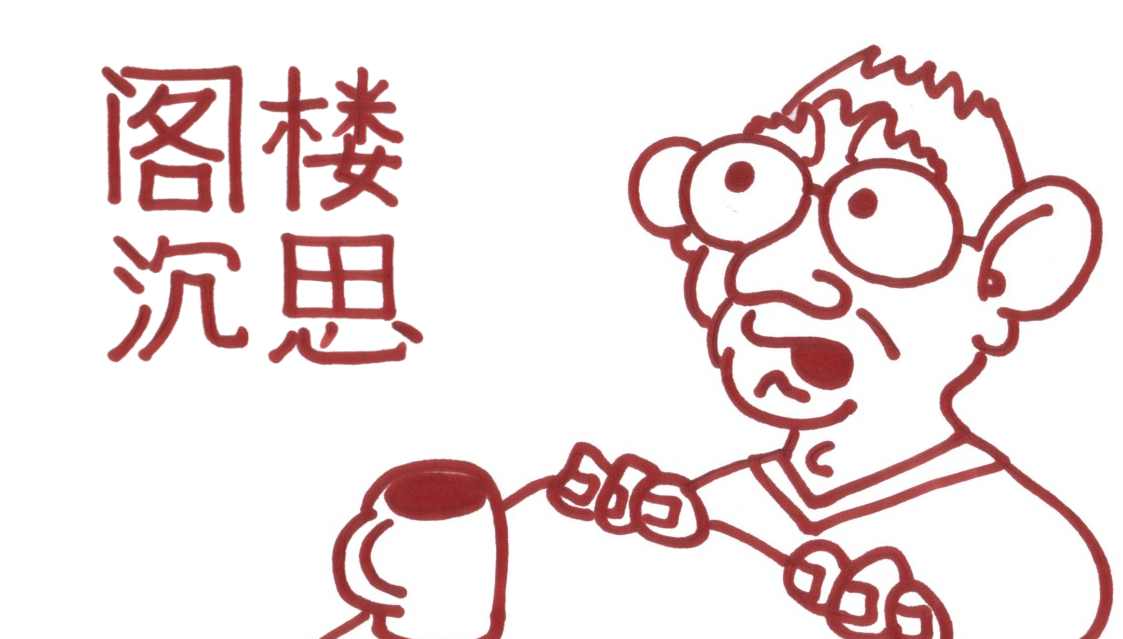
My final result has been uploaded to YouTube:
This was more of an experiment, but I acquired sufficient knowledge to do better next time. Though a creative venture, something as complex as this has to be approached as a real project:
- Write an original script
- Create a storyboard with key drawings
- Break down scenarios
- Break down further into sequences
- Decompose drawings
- Frame drawings to create motion
- Render your project from images to video
- Write out the soundtrack
- Record dialogs/sounds or search for sounds across the web
- Mix the sounds and synchronize them with the video
- Merge the sound and video track into an appropriate format
- Publish the movie
Prerequisites
Storyboarding
You could use a mind mapping software such as FreeMind, but a traditional white board works fine for me. Break up your story into scenarios, even if it is only a minute. Remember if you go really deep into your animation, you can spent as much as a full day for 5 to 10 seconds of footage.
Imaging
I figured out that detailed editing in the motion software itself (see further) is not optimal, so I used Gimp to edit PNG images in layers.
Below a nice trick to add transparency to scanned images:
- Add Layer alpha channel
- Fuzzy select
- Clear all white areas
- Correct where necessary
- Save as PNG or GIF (as JPG can't handle transparency)
If you don't do this, you can't put layers on top of each other. For example the hand is moving faster than the body, whereas the background is not moving at all.
Motion
All PNG images are put into motion using Pencil for Ubuntu. Using 12 frames per second (FPS) is more then sufficient to convey motion, as it is actually your story which is more important. Save your projects in sequence of 10 to 15 seconds (about 120 to 180 frames) otherwise if you make an error (and that's easily made) you mess up your entire animation. For a IT guy it is great that Pencil stores all its information in an XML file, so I can easily tweak frame numbers and path to images, as opposed to tediously edit everything in the Pencil graphical user interface. Make different layers for background (otherwise your animation will be transparent and show up black), foreground, movements etc ... To break up into smaller projects, I made a copy of the project, remove all but the last frames in each layer in the XML, and rename images re-used in the new sequence.
The most important thing I learned, is not including too much motion, so don't be afraid to increase distance between keys (image in a layer where a change occurs) up to 4 seconds. Especially my texts became too hard to read, because I went too fast. Too much animation such as flashing texts actually look more like errors in the animation. The images should carry your story, not the other way around, so overall timing is key to deliver an enjoyable experience.
Export the Pencil project to a PNG sequence (directly exporting to a movie is only supported under Macintosh). Pencil works with a limitless canvas, so here I made an error not studying the correct resolution to use in the video (which is why you see black bars). According to YouTube preferred dimensions for Video are 1280x720 or 1920x1080. Use ffmeg command in terminal window to compile into video.
ffmpeg -r 12 -b 1800 -i F%03d.png output.mov
By changing the extension, you can render formats other than QuickTime as well, for example MPEG or AVI. The -r switch stands for 12 frames per second (FPS). The %03 is a mask for counter consisting of 3 numbers. Following link was most helpful on this subject, but you can find much more when searching on FFMPEG: http://electron.mit.edu/~gsteele/ffmp. The code base site www.ffmpeg.org goes a bit too deep into the subject, but it indicates what you can achieve with this powerful converter.
Sometimes you'll find you can re-use sequences of images. A bypass is to rename them with KNAME, and render them as a smaller video fragment.
Soundtrack
Believe it or not, this is where a stopwatch really comes in handy. Based on the video, you have to time your dialogs to knit them together. Overdo the emotions when recording speech for better effects. (let yourself go) !!! A real super program to mix sound is Audacity, and you can search sounds on the web via www.findsounds.com. Also here ffmpeg comes in handy to change sound formats if needed. Below a snippet to convert WMA (windows proprietary format) to OGG (open sound standard):
ffmpeg -i TST.wma -acodec vorbis -aq 100 sample.ogg
Bringing it all together
For merging sound and video fragments, I used the Pitivi video editor included in the Ubuntu distribution of Linux. However next time - with some good timing - I will keep the video and audio track completely separate, because it is too messy with drag & drop and the sound and video transitions (which is a pity when putting so much time in it in the first place). Initially I was thinking of uploading the video to my own site www.hoornaert.net but I discovered it is not so easy to find interchangeable formats which work on all platforms (at home I got an iPad, Linux and Windows boxes to test). The easiest solution is to upload the entire video to YouTube, which seems have done a great job of playing videos on any operating system of your choice (or maybe the OS developers adapted YouTube the other way around because it is extremely popular). Another advantage is that you embed your artwork in the web 2.0 community.
